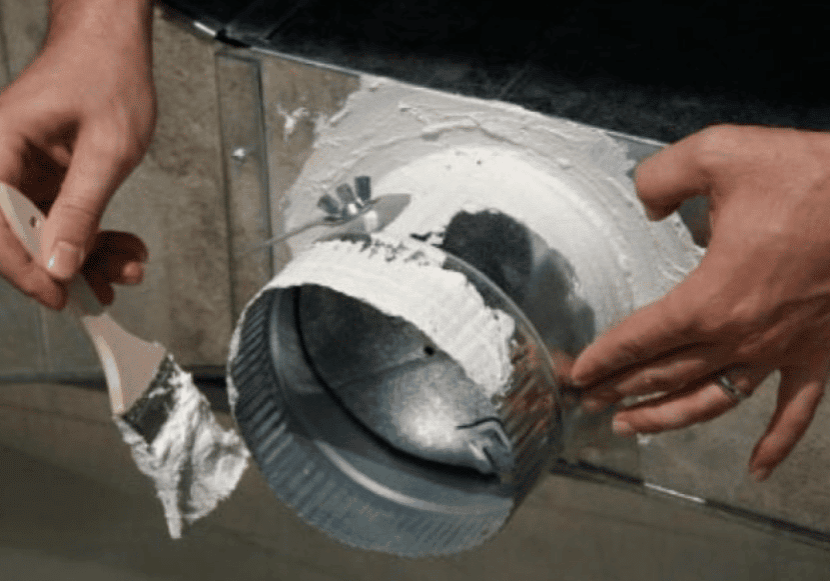
Sealing Air Ducts In Your Attic
It is recommended that you inspect the air duct system in your attic once a year. The ducts are the large tubes in which your air conditioned air flows throughout the house. A leak in the duct can have major negative impacts on the overall operation of your HVAC system. To keep your HVAC system operating at its full potential, and to keep your energy bills as low as possible, make sure that there are no leaks in your ducts. If you happen to find a leak, it is possible to fix it yourself without the help from a professional. In this blog we will walk you through the steps you can take to seal your air ducts yourself.
The first thing you are going to need to do is locate the exact source of the leak in the ducts. A leak in the duct can be any size, so you will have to look closely on the tubing to make sure that you do not overlook any small sized opening. Another tell-tale sign that there is a leak nearby is any damaged insulation surrounding the duct. If nearby insulation is torn, damp, or has mold, this may be signalling that a duct leak nearby is the cause.
Once the leak is found, then it is time to seal it up. Before you begin working on sealing the duct, turn off the HVAC system and then zip tie the surrounding duct to the floor, ceiling, or walls. Next, clean off the duct with a rag and some water. Finally, seal the leak with sealant mastic. While people often use duct tape as a sealant, this is not recommended since it is not made to withstand the heat that will be pumping through the ducts. Now, if the hole is under a quarter of an inch, then simply apply a good amount of sealant mastic. If the hole is over this size, then you must first apply drywall tape over the hole before you then apply the sealant mastic. After this is applied, allow time for the mastic to dry. Once dry, the duct will be repaired and the HVAC system will be ready to operate.

